So, you wanna get fit, right? But maybe the whole gym scene isn’t your thing. Maybe you’re crazy busy, or maybe you just like the idea of working out in your own space, on your own time. If that sounds like you, then you’ve probably heard about calisthenics – basically, using your own body weight to build strength and muscle. It sounds simple, maybe even too simple? Well, guess what? It totally works! This article is gonna break down the best calisthenics workout you can do right at home. We’ll ditch the confusing jargon and show you exactly how to get started, what moves pack the biggest punch, and how to put it all together for a solid home training session. Get ready to feel stronger without ever leaving your living room!
What’s the Deal with Calisthenics, Anyway?
Okay, let’s keep it simple. Calisthenics is just exercise using your body’s weight as the resistance. Think push-ups, squats, lunges, planks – stuff you’ve probably seen or even tried before. There’s no need for fancy machines or heavy dumbbells (though you can add equipment later if you want). It’s like your body is its own portable gym! This kind of training has been around forever (think ancient Greek soldiers!) because it’s super effective for building practical strength – the kind you actually use in everyday life, like lifting groceries or playing with your dog. It’s not just about looking good; it’s about moving better and feeling capable.
Why Calisthenics is Awesome for Home Workouts
Working out at home with calisthenics? It’s pretty much a game-changer for a few big reasons. First off, it costs nothing. Zip, zero, nada. Your body is the only equipment you absolutely need. Forget gym fees or buying expensive gear. Second, convenience is king. Your gym is wherever you are – living room, bedroom, backyard, even a hotel room if you travel. No commuting, no waiting for machines. Just drop down and get started! Third, it builds real-world strength. You learn to control your own body, making everyday movements easier and reducing injury risk. Think about it: push-ups help you push things, squats help you get up from a chair. It’s super practical!
Your Starting Lineup: The Must-Know Moves
Alright, let’s get down to business. These are the core moves that form the foundation of a great calisthenics home workout. Master these, and you’re well on your way!
Push-Ups: The classic chest, shoulder, and triceps builder. Can’t do a full one yet? No sweat! Start on your knees or do them against a wall or sturdy table. The key is keeping your body in a straight line from head to heels (or knees). Think of it like lowering a plank to the floor and pushing back up.
Squats: Amazing for legs and glutes (your butt muscles!). Stand with feet shoulder-width apart, chest up. Imagine you’re sitting back into a chair. Keep your back straight and try to get your thighs parallel to the floor. Make sure your knees track over your toes, not caving inwards.
Lunges: These work one leg at a time, great for balance and hitting those leg muscles differently. Step forward with one leg, lowering your hips until both knees are bent at about a 90-degree angle. Your front knee should be above your ankle, and your back knee close to the ground. Push off the front foot to return to standing. Repeat on the other side.
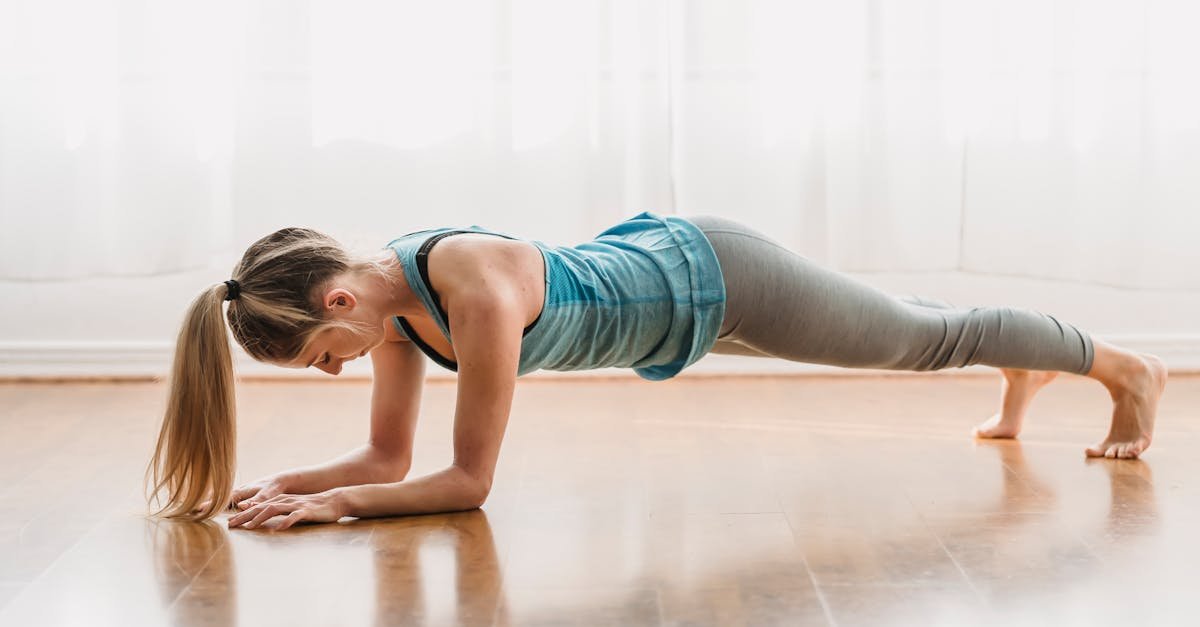
Plank: This one looks easy, but it’s a killer for your core (abs, back, hips). Hold your body in a straight line, supported on your forearms and toes (or knees for an easier version). Don’t let your hips sag or stick up too high! Imagine balancing a glass of water on your lower back. Hold it as long as you can with good form.
Focus on doing these moves correctly rather than rushing through them. Quality over quantity!
Ready to Level Up? Next-Stage Exercises
Once you’re feeling comfortable with the basics, you can start adding some trickier moves to keep challenging yourself. Remember Sarah, the fictional busy mom we talked about? Imagine after a few months of basic squats, she wanted more. Maybe she started holding a heavy book while squatting, or she tried these:
Pull-Ups: Okay, this one often needs *some* equipment, like a doorway pull-up bar or sturdy tree branch. They’re fantastic for your back and biceps. If you can’t do one yet, don’t worry! You can start with negative pull-ups (jump up and lower yourself down slowly) or use resistance bands for assistance. No bar? Try bodyweight rows using a sturdy table – lie underneath, grab the edge, and pull your chest towards it.
Dips: Great for chest, shoulders, and triceps. You can use two sturdy chairs or the edge of a sofa or bench. Place your hands on the surface, fingers pointing forward, legs straight out or bent. Lower your body down by bending your elbows until your upper arms are parallel to the floor, then push back up. Keep your shoulders down, away from your ears.
Glute Bridges: Lie on your back with knees bent, feet flat on the floor close to your butt. Lift your hips off the floor until your body forms a straight line from shoulders to knees. Squeeze your glutes at the top! Lower back down slowly. Great for strengthening your backside and lower back.
Jump Squats: Want to add some power? Perform a regular squat, but explode upwards into a jump. Land softly, immediately going into the next squat. This gets your heart rate up too!
Putting It All Together: A Sample Home Workout Plan
Knowing the moves is great, but how do you make it a workout? Here’s a simple full-body routine you can try 2-3 times a week, with rest days in between. Remember, this is just an example – adjust it based on how you feel!
Warm-up (5 minutes): Light cardio like jogging in place, jumping jacks, arm circles, leg swings.
The Workout: Aim for 3 rounds of the following circuit. Rest 60-90 seconds between rounds.
Squats: 10-15 reps
Push-Ups (choose your variation): 8-12 reps (or as many as you can with good form)
Lunges: 8-10 reps per leg
Plank: Hold for 30-60 seconds
Glute Bridges: 15-20 reps
(Optional if you have a bar/table): Bodyweight Rows or Negative Pull-Ups: 5-8 reps
Cool-down (5 minutes): Gentle stretching, holding each stretch for 20-30 seconds. Focus on chest, shoulders, legs, and back.
Don’t worry about hitting the exact numbers at first. Do what you can with good form, and aim to improve gradually over time.
Listen Up! Your Body Knows Best
This is super important: always listen to your body. Feeling sharp pain? Stop immediately. Muscle soreness a day or two later (known as DOMS) is normal, especially when you start, but sharp, sudden pain isn’t. Focus on form over speed or number of reps. It’s way better to do 5 perfect push-ups than 15 sloppy ones that could hurt your shoulders. Think of it like building with LEGOs – you need a solid base first! Also, rest is crucial. Your muscles rebuild and get stronger on your days off, so don’t skip them! As you get stronger, try to make things a little harder – maybe do one more rep, hold the plank 5 seconds longer, or try a slightly harder variation of an exercise. That’s how you keep making progress!
So, there you have it! Calisthenics is a fantastic, super accessible way to build strength and fitness right in your own home. You don’t need fancy gear or tons of time – just your own body and a little bit of space. We covered the basics, like what calisthenics even is and why it’s perfect for home training. We looked at the essential building block exercises – push-ups, squats, lunges, and planks – and how to step things up later. Remember the sample workout plan, but most importantly, remember to listen to your body, focus on good form, and be consistent. Start slow, enjoy the process of getting stronger, and you’ll be amazed at what your body can do!