So, you’ve seen those cool-looking Pilates reformer machines, maybe scrolled past them online or peeked into a fancy studio. They look kinda complicated, right? Like some sort of medieval stretching device? And doing it at home? Seems even more confusing! If you’re curious about reformer Pilates but feel a bit lost on where to start, especially by yourself, you’re totally in the right place. We get it. It can seem intimidating! This guide is here to cut through the confusion. We’ll walk you through a super simple, beginner-friendly reformer routine you can try right in your living room. By the end, you’ll understand the basics, feel more confident, and have a solid starting workout to build strength and flexibility safely.
Getting to Know Your Home Reformer (It’s Less Scary Than It Looks!)
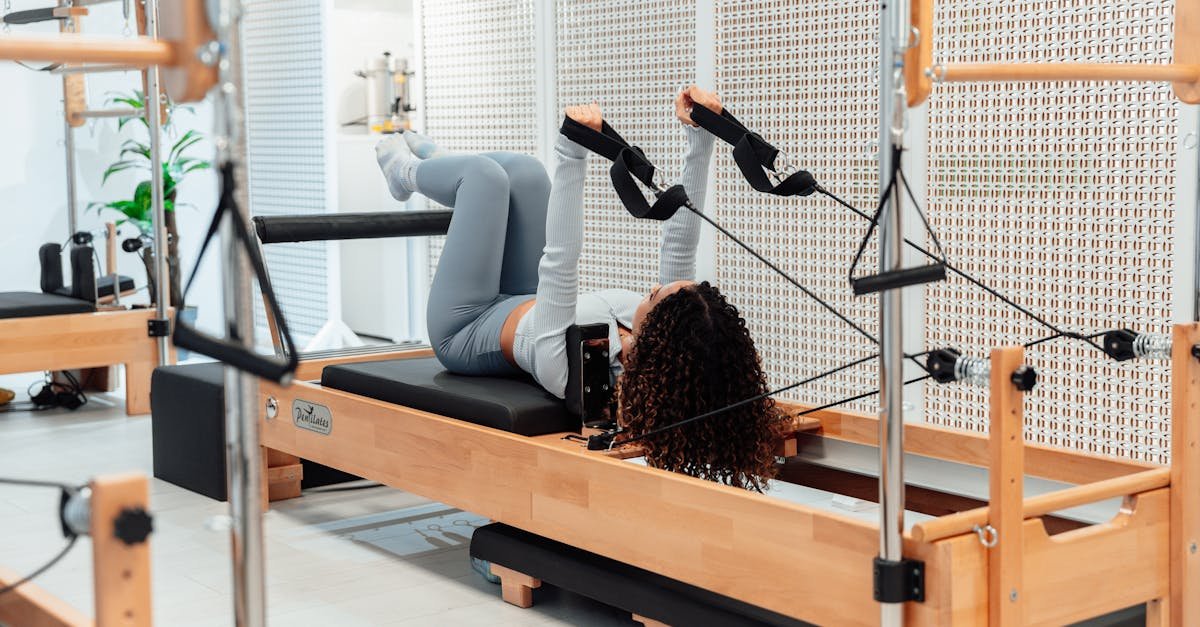
Alright, let’s meet the machine. Think of your home reformer like a specialized sliding board designed for awesome exercises. The main bits you’ll use are:
- The Carriage: This is the padded platform that slides back and forth. It’s where you’ll sit, lie, or kneel.
- The Springs: These attach the carriage to one end of the reformer. They’re the ‘magic’ – they provide resistance (making things harder) or assistance (making things easier), depending on the exercise. Usually, they’re color-coded for different strengths. Lighter springs are your friends when you’re starting out!
- The Footbar: It’s that bar at the end. You’ll push off it with your feet or hands for lots of moves. It often adjusts up and down.
- The Straps: Usually loops for your hands or feet, attached to ropes or cables that connect back to the carriage via pulleys. They let you work your arms and legs in different ways.
It might look like a lot, but once you know what’s what, it makes sense. It’s all there to help you move smoothly and target specific muscles.
Safety First, Always!
Okay, listen up, ’cause this part’s important. Before you hop on and start sliding around, take a sec for safety. Always give your reformer a quick once-over. Are the springs hooked on securely? Are the ropes for the straps untangled? You don’t want any surprises mid-move!
When you’re doing the exercises, focus on moving slowly and with control. It’s not about yanking or using brute force. Pilates is all about precision. Think smooth, steady movements. And most importantly? Listen to your body. If something feels sharp or painful (the bad kind of pain, not just muscle tiredness), stop. Don’t push through it. Maybe try a lighter spring or adjust your position. Remember our fictional friend, Alex? He got so excited with his new home reformer he put on all the heavy springs for footwork. Ouch! Bad idea. He quickly learned that starting light and focusing on form felt way better and actually worked his muscles more effectively.
Warming Up: Getting Your Body Ready to Move
You wouldn’t just sprint out the door without stretching, right? Same idea here. A quick warm-up gets your blood flowing, wakes up your muscles, and preps your joints for action. It makes everything feel smoother and helps prevent injuries.
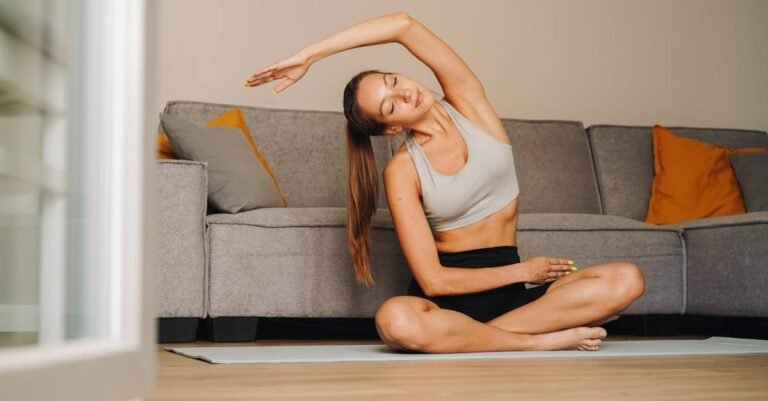
You don’t need anything complicated. Spend about 5-10 minutes doing gentle movements. You could do some simple stretches off the reformer first, like rolling your shoulders or doing some cat-cow stretches on the floor. Then, maybe hop on the reformer with a very light spring (or no spring) and do some basic Footwork – just gently pushing the carriage out and in, focusing on your breath and feeling the movement in your ankles and legs. Think of it as saying “good morning” to your muscles before asking them to work.
Core Basics: Finding Your Center
Pilates is famous for building a strong core – those deep tummy and back muscles that support everything you do. Even simple moves on the reformer get your core involved. Let’s start with one or two basics.
Footwork: This is a classic for a reason. Lie on your back on the carriage with your feet on the footbar (try heels on, toes pointing up). Use one or two light-to-medium springs. As you press the carriage away, think about gently pulling your belly button towards your spine – like you’re subtly tightening a belt under your shirt. Keep your lower back gently pressed into the carriage. Control the movement as the carriage comes back in; don’t just let the springs slam it shut! Feel how your abs help stabilize you? That’s your core working!
Hundred Prep: Lie on your back, knees bent in a tabletop position (shins parallel to the ceiling). Hold the straps, palms facing down. Without lifting your head yet, just practice pulling the straps down towards the carriage, feeling the connection in your upper back and arms. Keep that tummy gently pulled in. This preps you for more challenging ab work later, focusing on control and breath.
Working Those Legs and Arms (Gently!)
Now let’s add some simple moves for your limbs, still keeping things beginner-friendly.
Leg Presses (Footwork Variations): We already mentioned footwork for the core, but it’s amazing for legs too! Keep those light-to-medium springs. After doing heels on the bar, try placing the balls of your feet on the bar, heels high (like you’re wearing high heels). Press out and in, feeling the work in your calves and thighs. Then, try placing your feet wide on the bar, or in a ‘V’ shape (heels together, toes apart). Each position targets muscles slightly differently. Remember: smooth and controlled!
Arm Work Facing Back: Sit tall on the carriage, facing the back of the reformer (away from the footbar). Hold the straps. With a light spring, try simple Bicep Curls: Keep your elbows stable and curl your hands towards your shoulders. Then try Triceps Presses: Start with arms bent, hands near shoulders, and press the straps straight back, keeping arms close to your body. Imagine you’re moving your arms through thick honey – slow and deliberate.
Cooling Down and Stretching
You did it! But don’t just jump off yet. Just like warming up is important, cooling down helps your body transition back to rest. It helps your muscles relax and can improve your flexibility over time.
Spend a few minutes doing some nice stretches. The reformer is great for assisting stretches!
- Mermaid Stretch: Sit sideways on the carriage with one leg bent in front, the other tucked back (if comfortable). Hold the footbar with one hand and stretch the other arm up and over, feeling a nice side bend. You can gently push the carriage out slightly to deepen the stretch. Repeat on the other side.
- Hamstring Stretch: Lie on your back and place one foot (carefully!) onto the footbar. Gently press the carriage out slightly until you feel a comfortable stretch down the back of your leg. Keep the other leg relaxed on the carriage or bent with foot flat. Hold the stretch, breathing deeply. Switch legs.
Think of this as giving your muscles a little thank you hug after their hard work.
So there you have it – a simple way to get started with your home reformer! We covered getting familiar with the machine, putting safety first (always!), the importance of warming up and cooling down, and some basic moves for your core, legs, and arms. Remember, starting reformer Pilates at home doesn’t need to be scary. This routine is just a beginning. The key is consistency. Try doing this routine a few times a week. Go slow, focus on how the movements feel, and don’t worry about using heavy springs right away. It’s about building a solid foundation. You’ve totally got this! Enjoy the process of getting stronger and more connected to your body, right in your own space.


